基于 nginx 镜像构建容器
正如上一篇章所言,对于仅仅提供静态资源服务的前端,实际上是不必将 nodejs 作为运行环境的。
在实际生产经验中,一般选择体积更小,性能更好,基于 nginx 的镜像。
我们通过 docker images 查看镜像体积,发现 node:alpine 体积是 nginx:alpine 的数倍大小。
$ docker images nginx
REPOSITORY   TAG       IMAGE ID       CREATED        SIZE
nginx        alpine    b46db85084b8   6 months ago   23.2MB

$ docker images node
REPOSITORY   TAG         IMAGE ID       CREATED        SIZE
node         alpine      025c3cbb849f   4 months ago   169MB
PS: 本项目以 simple-deploy 仓库作为实践,配置文件位于 nginx.Dockerfile
nginx 镜像
在传统方式中,我们一般通过 Linux 服务器来学习如何使用 nginx 进行部署。但是,学习 nginx 的成本太高,需要额外购买一台服务器,不够方便。
也许有人会提出反对意见: 在个人电脑上也可以部署 nginx。
确实是这样,但是 nginx 一般部署在 linux 服务器,很少有人的电脑是 linux 系统,而且即便在 mac 中,其环境和 linux 环境也有很大的不同。
那我们完全可以在本地通过 docker 来简单学习下 nginx。如此,既学习了 docker,又实践了 nginx。
如果你初学 nginx,强烈建议使用 docker 进行学习。本篇文章最后会附上如何启动 nginx 镜像用以学习。
通过以下一行命令可进入 nginx 的环境当中,并且了解 nginx 的目录配置,该命令将在以下章节用到。
$ docker run -it --rm nginx:alpine sh

# 进入容器中,在容器中可通过 exit 退出容器环境
$ exit
通过以下一行命令可直接访问 nginx 的默认页面
# -p 3000:80,在本地 3000 端口访问 nginx 页面
$ docker run -it --rm -p 3000:80 nginx:alpine
/docker-entrypoint.sh: /docker-entrypoint.d/ is not empty, will attempt to perform configuration
/docker-entrypoint.sh: Looking for shell scripts in /docker-entrypoint.d/
/docker-entrypoint.sh: Launching /docker-entrypoint.d/10-listen-on-ipv6-by-default.sh
10-listen-on-ipv6-by-default.sh: info: Getting the checksum of /etc/nginx/conf.d/default.conf
10-listen-on-ipv6-by-default.sh: info: Enabled listen on IPv6 in /etc/nginx/conf.d/default.conf
/docker-entrypoint.sh: Launching /docker-entrypoint.d/20-envsubst-on-templates.sh
/docker-entrypoint.sh: Launching /docker-entrypoint.d/30-tune-worker-processes.sh
/docker-entrypoint.sh: Configuration complete; ready for start up
2022/01/01 09:12:25 [notice] 1#1: using the "epoll" event method
2022/01/01 09:12:25 [notice] 1#1: nginx/1.21.4
2022/01/01 09:12:25 [notice] 1#1: built by gcc 10.3.1 20210424 (Alpine 10.3.1_git20210424)
2022/01/01 09:12:25 [notice] 1#1: OS: Linux 5.10.47-linuxkit
2022/01/01 09:12:25 [notice] 1#1: getrlimit(RLIMIT_NOFILE): 1048576:1048576
2022/01/01 09:12:25 [notice] 1#1: start worker processes
2022/01/01 09:12:25 [notice] 1#1: start worker process 34
2022/01/01 09:12:25 [notice] 1#1: start worker process 35
2022/01/01 09:12:25 [notice] 1#1: start worker process 36
2022/01/01 09:12:25 [notice] 1#1: start worker process 37
2022/01/01 09:12:25 [notice] 1#1: start worker process 38
2022/01/01 09:12:25 [notice] 1#1: start worker process 39
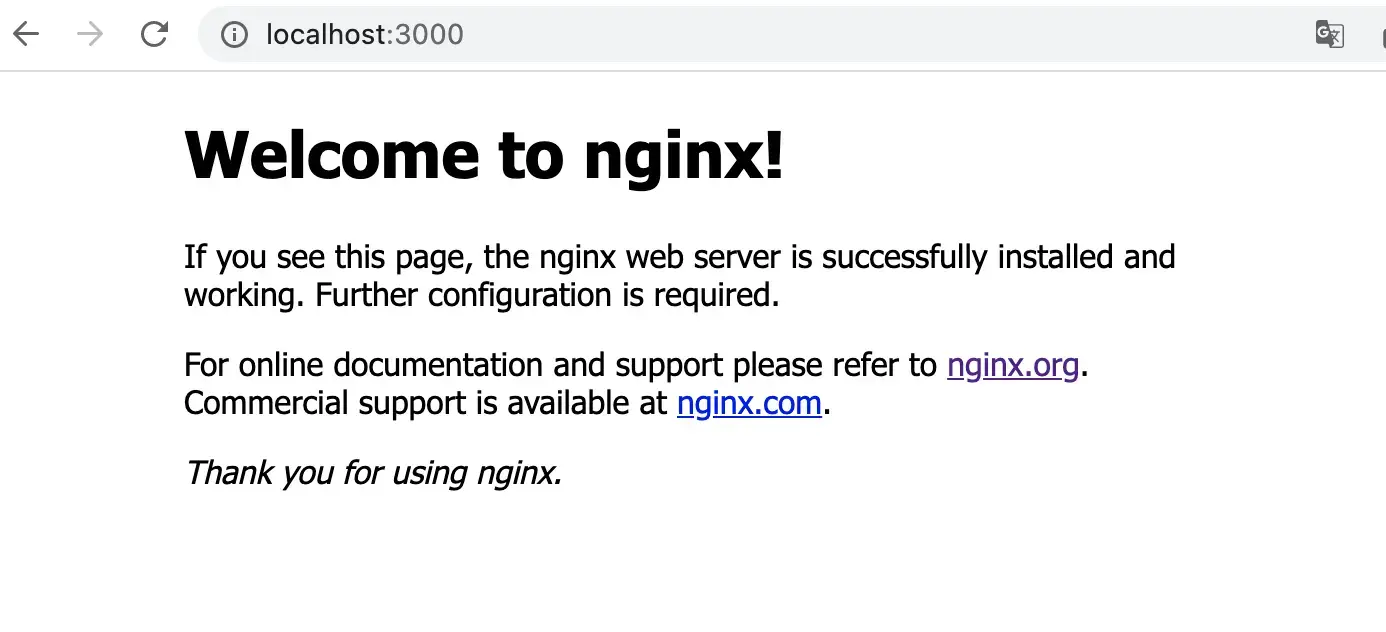
嗯,熟悉的界面。
简单了解 nginx
以下所有命令均在基于 nginx 的容器中进行,可通过 docker run -it --rm nginx:alpine sh 命令进入容器环境中。
默认配置文件位于 /etc/nginx/conf.d/default.conf,通过 cat 可查看配置。
# 该命令在 nginx 的容器中执行
$ cat /etc/nginx/conf.d/default.conf
把所有注释都删掉,默认配置为以下文件:
server {
    listen       80;
    server_name  localhost;

    location / {
        root   /usr/share/nginx/html;
        index  index.html index.htm;
    }

    error_page   500 502 503 504  /50x.html;
    location = /50x.html {
        root   /usr/share/nginx/html;
    }
}
该配置文件做了以下两个事情。
- 监听本地 80 端口
- 为
/usr/share/nginx/html目录做静态资源服务
那我们将我们的示例资源添加到镜像中的 /usr/share/nginx/html 岂不可以正确部署了?
那我们将我们的配置文件添加到镜像中的 /etc/nginx/conf.d/default.conf 岂不可以学习 nginx 的一些指令了。
正是如此。
构建镜像、运行容器
写一个 Dockerfile 将我们的示例项目跑起来,仅仅需要两行代码。由于 nginx 镜像会默认将 80 端口暴露出来,因此我们无需再暴露端口。
PS: 该 Dockerfile 配置位于 simple-deploy/nginx.Dockerfile
FROM nginx:alpine

ADD index.html /usr/share/nginx/html/
继续完成 docker-compose.yaml,并创建容器。
version: "3"
services:
nginx-app:
build: .
ports:
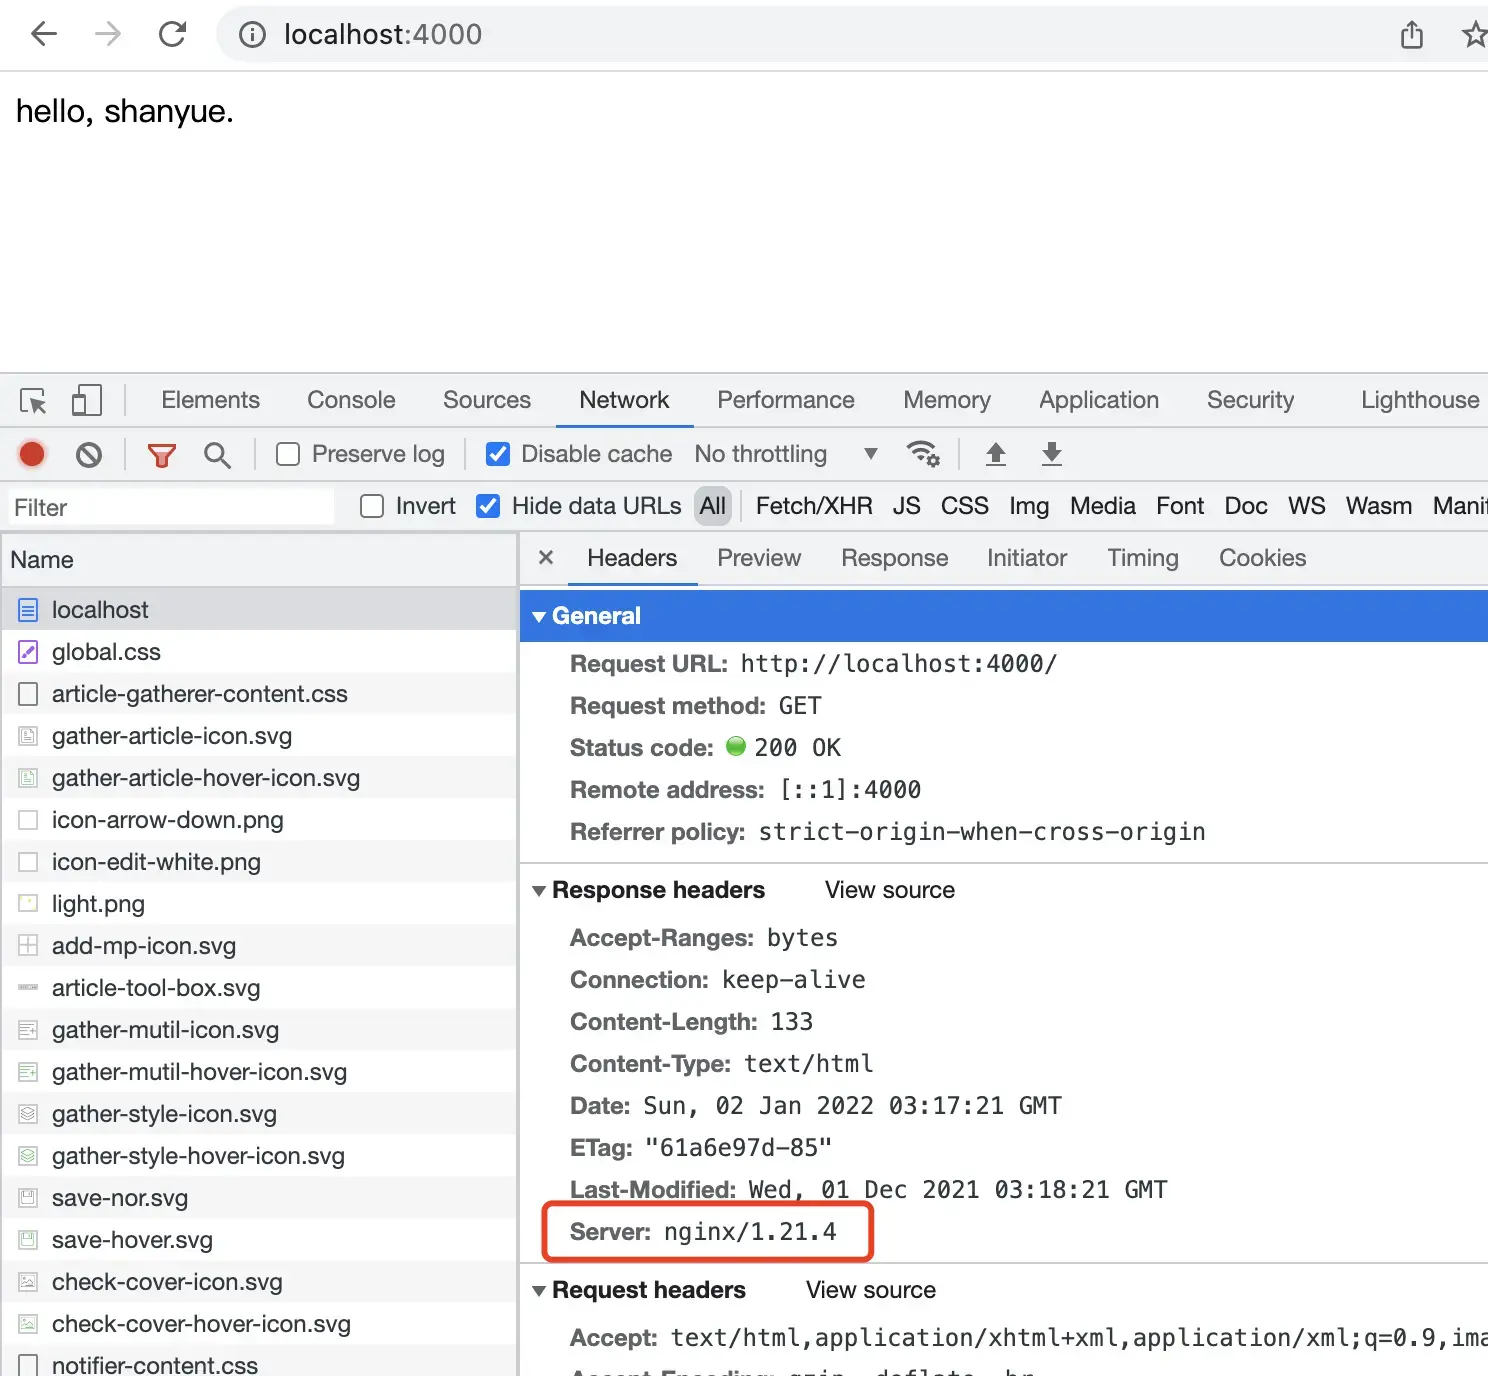
- 4000:80$ docker-compose up --build此时,访问 http://localhost:4000 即可访问成功。在控制台查看响应头,可发现有: Server: nginx/1.21.4。
基于 node/nginx 镜像体积对比
通过 docker-compose 同时将基于 node/nginx 镜像构建容器,配置文件如下。
PS: 该 docker compose 配置位于 simple-deploy/docker-composey.yaml
version: "3"
services:
  node-app:
    build:
      context: .
      dockerfile: node.Dockerfile
    ports:
      - 3000:3000
  nginx-app:
    build:
      context: .
      dockerfile: nginx.Dockerfile
    ports:
      - 4000:80
通过 docker-compose images 命令,可查看该配置文件的所有镜像体积。此时发现基于 nginx 的镜像为 23.2 MB,而基于 node 的镜像为 133MB (还记得上篇文章的数据吗)。
$ docker-compose images
        Container                 Repository           Tag       Image Id      Size
-------------------------------------------------------------------------------------
simple-deploy_nginx-app_1   simple-deploy_nginx-app   latest   62f362825a0a   23.2 MB
simple-deploy_node-app_1    simple-deploy_node-app    latest   14054cb0f1d8   133 MB
通过 Docker 学习 Nginx 配置
最后,推荐一种高效学习 nginx 的方法: 在本地使用 nginx 镜像并挂载 nginx 配置启动容器。

无需 Linux 环境,也无需自购个人服务器,你可以通过该方法快速掌握以下 nginx 的常用配置。
- 如何配置静态资源缓存策略
- 如何配置 CORS
- 如何配置 gzip/brotli 配置
- 如何配置路由匹配 Location
- 如何配置 Rewrite、Redirect 等
我们将注意力集中在静态资源与nginx配置两个点,在本地进行更新及维护,并通过 Volume 的方式挂载到 nginx 容器中。
配置文件如下,通过此配置可在 Docker 环境中学习 nginx 的各种指令。
PS: docker-compose 配置文件位于 simple-deploy 中,可通过它实践 nginx 的配置
version: "3"
services:
  learn-nginx:
    image: nginx:alpine
    ports:
      - 4000:80
    volumes:
      - ./nginx.conf:/etc/nginx/conf.d/default.conf
      - .:/usr/share/nginx/html
通过 docker-compose 启动该容器,如果需要修改配置,验证配置是否生效,可通过 docker-compose 重新启动该容器。
$ docker-compose -f learn-nginx.docker-compose.yaml up learn-nginx作业
- 基于 nginx 镜像将极简前端项目进行部署
- 我们的基础镜像 tag 总是携带
alpine,它是什么
小结
通过本篇文章,已基于 nginx 镜像成功部署前端,镜像体积也由 133MB 下降到 23.2MB。并且了解了如何基于 nginx 镜像来更好地学习 nginx 配置部署知识。
然而此三篇文章仅仅部署了一个 hello 版的页面。
下一篇文章以 create-react-app 为例,部署一个复杂的单页应用,与业务项目完全一致。